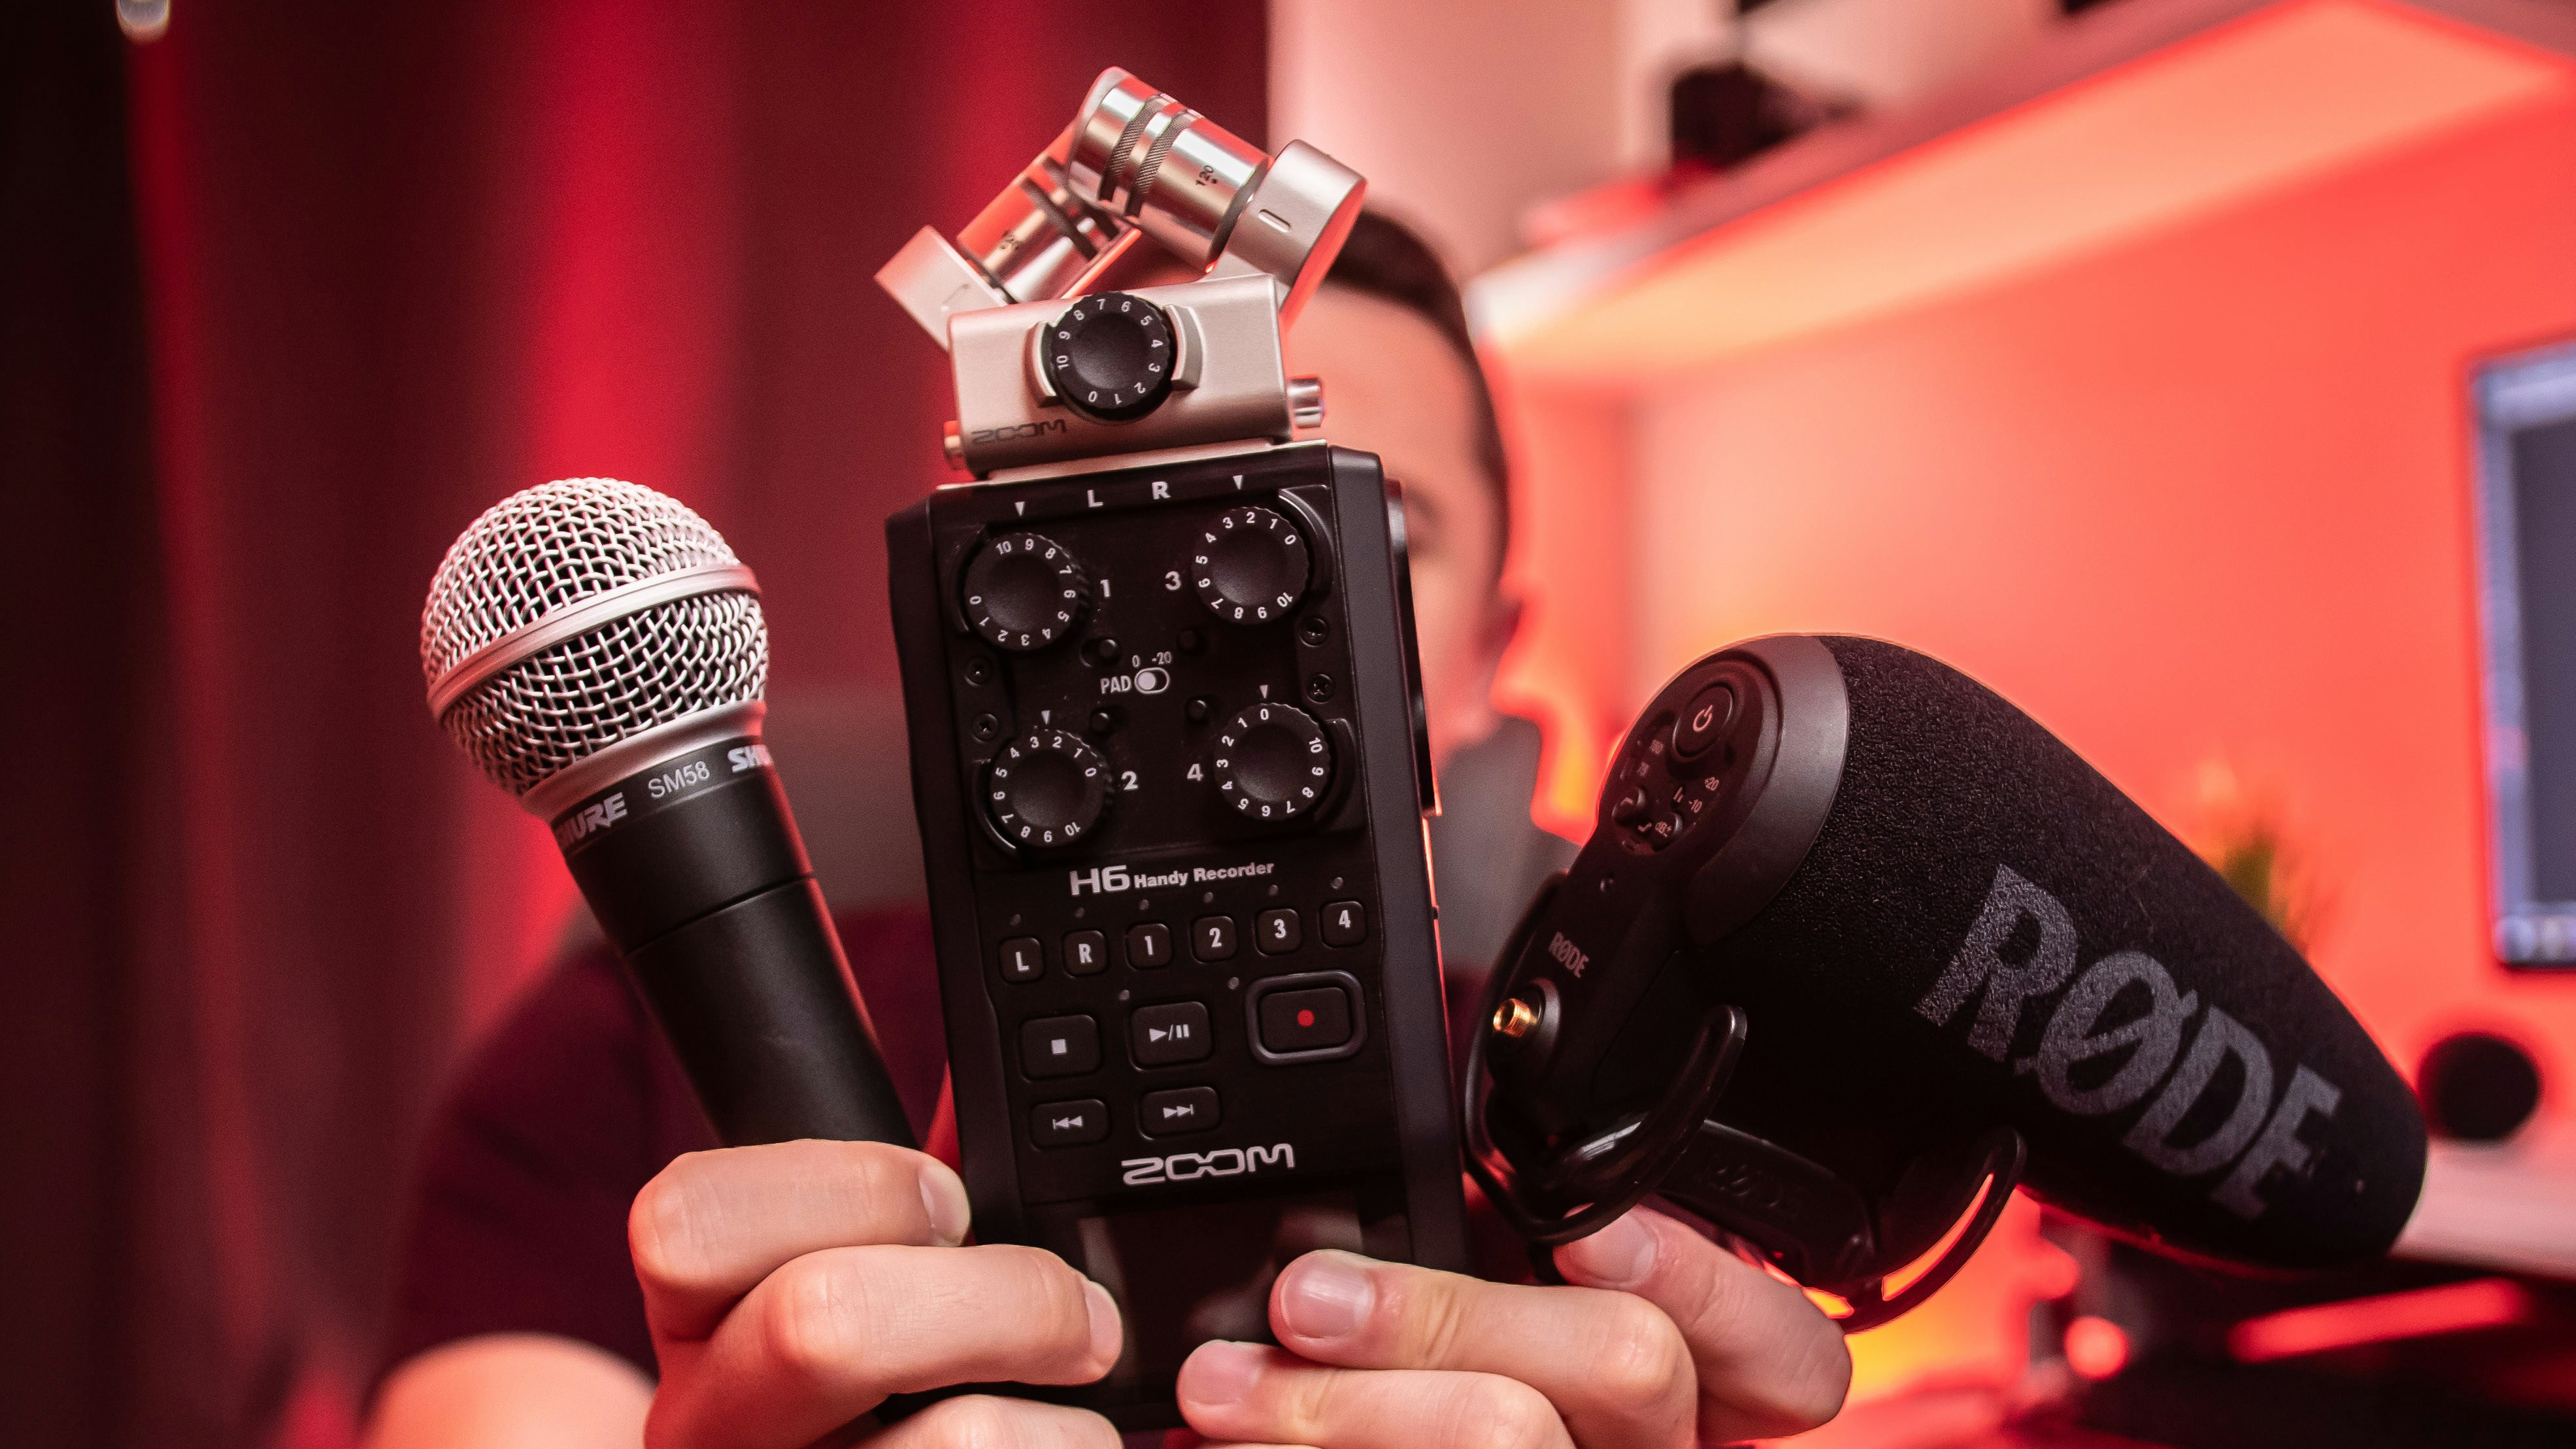
You’ve got good hearing aids, but noisy restaurants, car rides, and meetings still drain you. You’re not alone. The missing piece often isn’t a new aid—it’s a tiny accessory that moves the microphone closer to the talker. Meet remote microphones: the “third ear” that lets your hearing aids hear from the best seat in the house.
Why even great hearing aids struggle in noise
Hearing aids work hardest in three troublemakers: distance, background noise, and echo. The farther a voice is from your ears, the more room noise and reverberation swamp it. Directional microphones in aids help, but they’re physics-limited. If the person you care about is three feet away and the noisy kitchen is three feet away, your aids are forced to pick up both.
Remote microphones flip the equation. They sit near the talker’s mouth and send a clean signal straight to your hearing aids. That single change—moving the mic—can make speech feel calmer, clearer, and less effortful.
Meet the remote mic family (and what each does best)
Clip-on or lapel mics: One-to-one clarity
Small, simple, and discreet. You clip it on your partner’s shirt or place it on a lanyard. Perfect for date-night dinners, walking and talking, or car rides.
- Strengths: Excellent for a single talker. Lightweight and easy.
- Watch-outs: Less ideal for groups. Clothing rustle can add noise—aim for mid-chest, away from scarves or jewelry.
Table array mics: Group conversations that don’t steamroll you
Placed in the center of a table, these use beamforming to focus on whoever is speaking. Some can auto-switch between talkers or be set to lock onto a specific seat.
- Strengths: Meetings, family dinners, study groups.
- Watch-outs: Works best on stable surfaces; very loud music plus many talkers is still challenging.
Pen/handheld mics: Pass-the-mic control
Shaped like a pen or wand, you can point toward the speaker or hand it around the room.
- Strengths: Lectures, Q&A sessions, tours.
- Watch-outs: Requires some “mic etiquette” with the group.
FM/DM systems (e.g., modern digital classroom/work systems)
The gold standard for serious speech-in-noise needs. A talker wears a transmitter; you receive the signal in your aids via a compatible receiver or adapter. Many systems support networks of multiple mics for roundtables.
- Strengths: Best-in-class clarity at distance and in noise; scalable for classrooms and boardrooms.
- Watch-outs: Higher cost; brand/compatibility matters; might need an audiologist to set up.
Smartphone-as-mic features
Many hearing aid apps let your phone act as a remote mic. You set the phone near the talker and stream the audio to your aids.
- Strengths: You already own it. Great as a test drive to see if a remote mic helps.
- Watch-outs: Latency, battery drain, and placement hassle. Security and etiquette: always ask before recording/streaming.
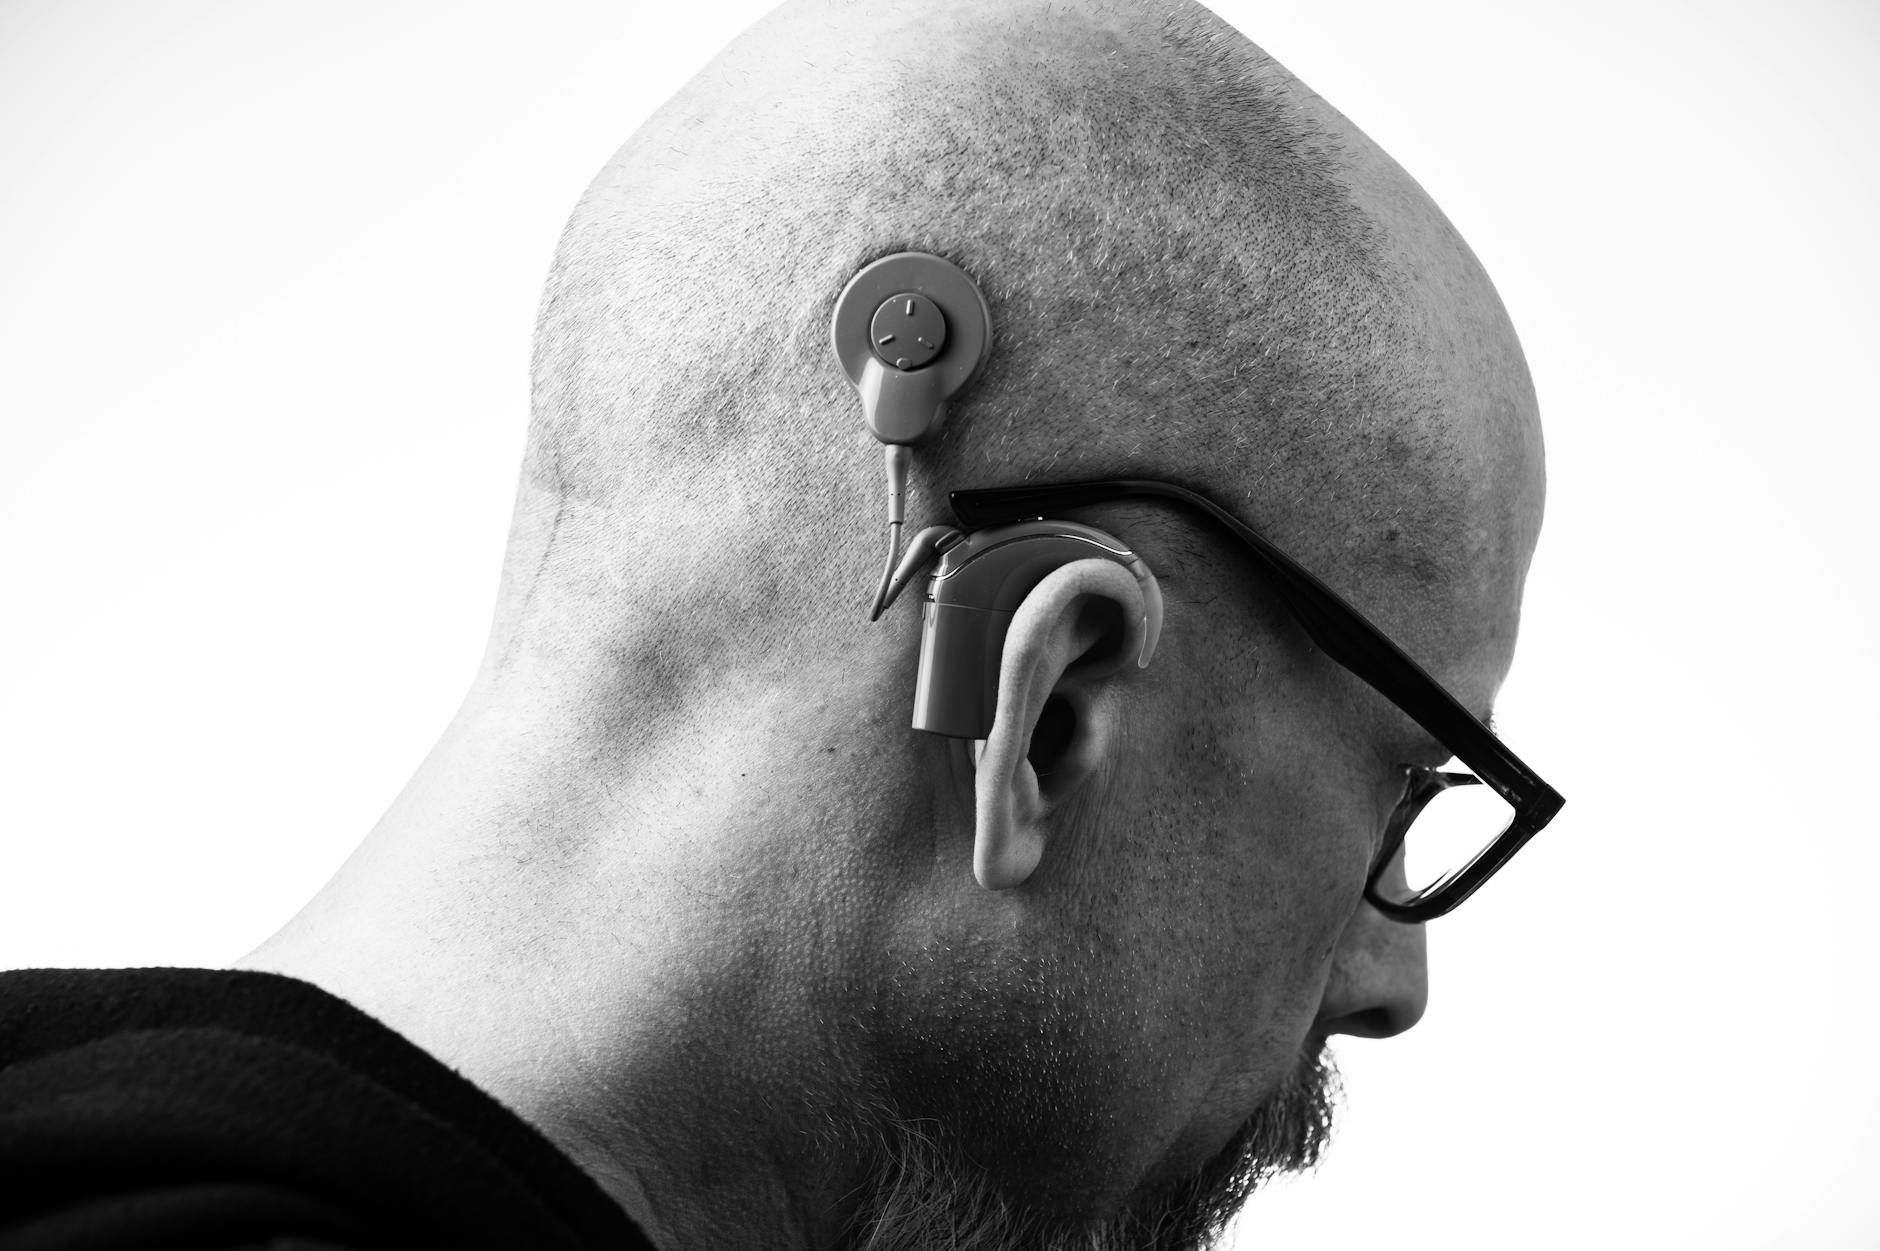
Will it work with my hearing aids?
Compatibility is the make-or-break factor. Most manufacturers offer their own remote mics designed to pair with their aids. Cross-brand options exist, but features can be limited. A quick check with your hearing care professional prevents expensive mismatches.
Common connection paths
- Direct proprietary pairing: Many premium hearing aids pair directly with same-brand mics for low-latency, stable streaming.
- Telecoil + neckloop: If your aids have a telecoil (T-coil), a neckloop can bridge older FM mics or installed public loop systems to your aids.
- Bluetooth bridges: Some mics connect to your aids via a small streamer or intermediary accessory.
OTC hearing aids and remote mics
Some OTC models support app-based remote mics or Bluetooth accessories; others do not. If speech-in-noise is a top concern, prioritize OTC devices with proven accessory ecosystems—or consider a prescription set with strong accessory support.
Bimodal (hearing aid + cochlear implant) users
Many modern systems allow coordinated streaming to both devices. If you’re bimodal, ask about accessories that send to both sides for balanced sound.
Real-world setups that work
Restaurant nights
- For one-to-one: Clip the mic on your partner or place it on the salt shaker pointing toward them. Start with a moderate mic sensitivity.
- For a small group: Use a table mic with automatic speaker selection. If the room is very loud, consider placing it closer to the primary talker and rotate as needed.
In the car
- Clip the mic on the passenger’s collar or seatbelt strap near the shoulder.
- If you’re the passenger, mount the mic on the visor toward the driver. Avoid dangling cords and keep away from air vents to reduce wind noise.
Work meetings and classes
- Table array in the center for small meetings; for larger rooms, ask the presenter to wear a clip-on mic.
- For multi-speaker panels, link multiple mics (if supported). Some systems let you assign priorities to keep side chatter from dominating.
Outdoors and sports
- Wind is the enemy. Use wind screens if available and place the mic behind a lapel or light scarf to block gusts.
- Keep the mic within about 8–12 inches of the mouth for the best balance of clarity and comfort.
TV nights
Remote mics can work for TV by placing them near the TV’s speaker—but a dedicated TV streamer usually beats a mic for stability and lip-sync. If you watch with others, you can still keep the room volume low while streaming directly to your aids.
Placement, etiquette, and hygiene
- Distance: Aim for a hand-span (about 8–12 inches) from the talker’s mouth.
- Avoid noise sources: Keep mics away from necklaces, zippers, and fans. If rustling happens, adjust the clip or add a foam windscreen.
- Mute is your friend: Many mics have a mute button—use it for side conversations or privacy moments.
- Consent builds trust: A simple, “This sends your voice to my hearing aids so I can follow better. Okay if I clip it here?” goes a long way.
- Cleanliness: Wipe mics with a lightly dampened alcohol wipe after use, especially if shared at work or school. Avoid soaking ports or charging contacts.
What improvement should you expect?
Most people notice easier listening, more consistent clarity at distance, and less end-of-day fatigue. You’re not “turning up the world”; you’re selectively sending the right voice to your ears. There is a learning curve—finding the right placement, switching modes, and remembering to charge the device—but it’s usually days, not weeks.
Important: No accessory eliminates all noise. The goal is a cleaner signal-to-noise ratio so your brain can do its best work with less effort.
Cost, insurance, and smart shopping
- Typical prices: Simple clip-on mics may run in the low hundreds; advanced table arrays and multi-mic digital systems can reach into four figures.
- Trials matter: Ask about return windows. Try the mic in your toughest settings—your favorite restaurant, your car, your conference room.
- Insurance/FSA/HSA: Coverage varies. Remote mics are often considered assistive devices; your audiology clinic can provide itemized documentation.
- Refurbished/used: Can be a bargain, but confirm compatibility, firmware, and battery health. Understand that warranties may be limited.
Quick start checklist
- List your toughest listening situations (top 3).
- Match a mic type to each situation (clip-on vs table vs multi-mic).
- Confirm compatibility with your hearing aids or T-coil.
- Set up and pair at home first; practice mute, volume, and mode changes.
- Test in real life and jot down what worked and what didn’t.
- Fine-tune with your audiologist—placement tips and settings can be game-changing.
When to bring in an audiologist
If noise still beats you after trying built-in programs, that’s your cue. An audiologist can:
- Assess your typical environments and recommend the right mic ecosystem.
- Verify settings, demonstrate placement, and optimize streaming levels.
- Help with insurance documentation and trial planning.
Small accessory, big payoff: for many adults, remote microphones are the difference between “I can kind of follow” and “I’m back in the conversation.” If that sounds like the upgrade you need, ask your hearing care professional about a hands-on demo. Your next dinner out could feel entirely different.
Further Reading
- Pass the Mic: Remote Microphones That Make Restaurants Human Again (Technology) - Milliseconds Matter: Hearing Aid Latency, Echoey Voices, and Faster Fixes (Technology) - Seal the Deal: Domes vs. Earmolds and How They Change Your Hearing Aid Sound (Hearing Aids) - Listening Fatigue Is Real: Use Your Hearing Aids to Spend Less Energy on Every Conversation (Hearing Aids)Frequently Asked Questions
Do remote microphones work with all hearing aids?
Not universally. Many pair best with same-brand aids, while others require a streamer, neckloop, or telecoil. Before buying, check model-by-model compatibility or ask an audiologist to confirm and demo.
Will a remote mic make restaurants effortless?
It usually makes them meaningfully easier, not perfect. By moving the mic close to the person you care about, speech stands out more clearly. Very loud music and multiple competing talkers can still be challenging, but most users report less effort and better understanding.
Is using my phone as a remote mic good enough?
It’s a great way to try the concept, but phone mics can add delay and placement hassles. If you like the benefit, a dedicated clip-on or table mic typically offers more stable, lower-latency sound and easier controls.
What if my hearing aids don’t have Bluetooth?
You may still connect through a telecoil and a neckloop to compatible FM or loop systems. An audiologist can help you explore bridging options without replacing your aids.